Win & SQL Cluster creation Screen-shot step by step guide for 2 Node cluster for DC, N1 & N2:-
Requirement:
Total ip required for 2 node cluster:

Steps for Configuration:
On DC node install A.D and Configure Public And Private IP Change Host Name and Add N1 and N2 to Domain and Create One user for SQL cluster.

Choose Server Roles - ADDS here:-


Server Roles :
Server Roles: Add Active Directory Domain Service and Application Service Features: .Net 3.5 and Telnet Client and Telnet Server
Specify the .net s/w source path and Install i.e. (G:\sources\sxs\ --specify these path )

Configure Public And Private ip for DC, N1 and N2:
Add n/w adapter for public ip choose N/W connection @Bridged & Replicate physical n/w Add-> Public Ip -> Bridge and Replica (2 n/w adapter required for public & private) Private ip -> Adapter -> Host - only (select)


Node DC IP Configuration
Public ip: 192.168.102.128
subnet mask: 255.255.255.0
Getaway: 192.168.102.2
DNS: 192.168.102.128
DC Private IP: 10.0.0.1
subnet mask: 255.255.255.0
DNS: 10.0.0.1
Node 1:(N1) :- (Public & Private IP configuration)
Public ip: 192.168.102.129
subnet mask: 255.255.255.0
Getaway: 192.168.102.2
DNS: 192.168.102.128
Private IP: 10 .0.0.2
subnet mask: 255.255.255.0
DNS: 10.0.0.1
Node 2 (N2) (Public & Private IP configuration): Public ip: 192.168.102.130
subnet mask: 255.255.255.0
Gateway: 192.168.102.2
DNS: 192.168.102.128
Private IP: 10.0.0.3
subnet mask: 255.255.255.0
DNS: 10.0.0.1
Rename PC Name / Host Name: DC, N1 and N2:-

Now to Check Ping or not for each nodes vice versa to other nodes also i.e. N1 and N2
1 DC
Open command prompt --> () >hostname >ipconfig
>ping ip/hostname (for every node vic other nodes also)


Install Domain Controller for D.C Node :-


-------------------------------------------------
Adding nodes to domain :-
Both nodes add to DC (N1 & N2)
This PC --> Change Setting --> Change --> Member of : <Domain Name enter here> e.g. sqlclust.com


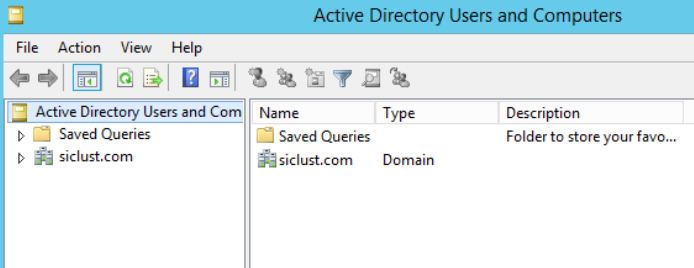
Adding Users To Domain :(N1 and N2 should be login that created user in domain account) Server Manger --> Tools--> Users-->Active Directory User and Computer-->User User Name: sqlcust


Add iscsi & Shared Storage Disks:


-------------------------------------------------------
GOTO NODE1 "Server Manager" --> Tools --> Computer Management --> Disk Management --> bring Unknown Disk --> Online-->Initialize Disk --> Click disk1 --> Choose MBR --> ok --> New Simple Volume --> Next -->Size automatic-->next --> Assign Drive Letter Q (for Quorum)--> Format --> NTFS-->64K-->Volume Name: Quorum-->next-->Finish
GO to node 2 : Server Manager -->Tools-->Computer Manager-->Disk Management-->Rescanning Disk
GOTO Node1: open Failover cluster manager --> Validate Configuration Manager -- >Next enter Name --> N1;
N2 --> add
Next--> Run only Test as Selected --> Next --> Run --> Finish
What it does ? (Cluster Validation)
First it will make the quorum disk offline on node 1 and bring online on NODE2 and then VIce versa To Check if Quorum disk Is working on both node or not.

Create Windows Cluster:
Add Nodes N1 & N2

Creating SQL Cluster:
Node 1:- n1 sql installation choose New sql server failover cluster installation for node 1


Add node to SQL Cluster:


Failover Cluster Manager --> Properties --> Create cluster -->


To configure a DTC in cluster, we will need a disk and a hostname.
1. Right-click on Roles and pick the “Configure Role” option.


