Step 1 — Installing MySQL
Update the system packages, Then install the mysql-server package:
1) sudo apt-get update
2) sudo apt-get upgrade
3) sudo apt-get dist-upgrade
4) sudo reboot
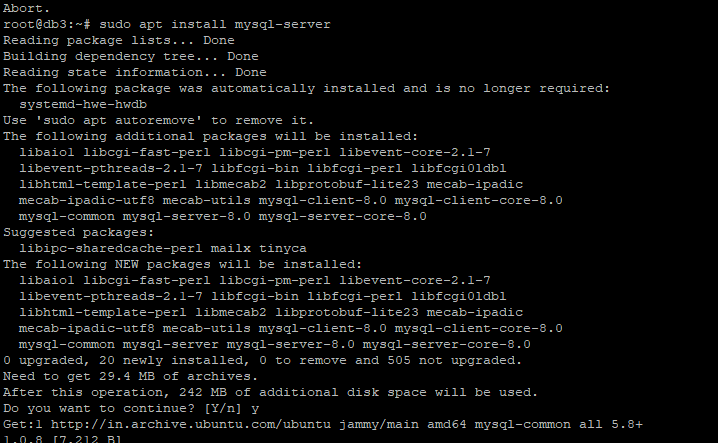
5) sudo apt install mysql-server
Installation of MySQL
Local server ip address


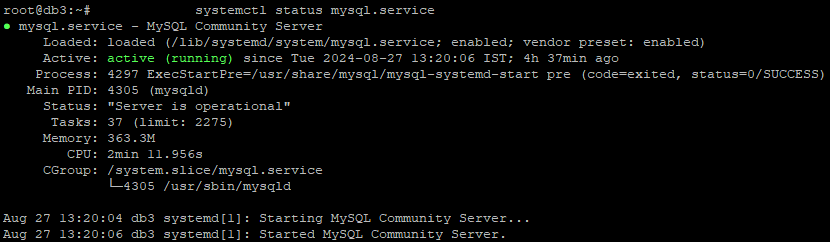
Enabling the server to start at startup, run the following:
sudo systemctl enable mysql
Step 2 – Change Root Password (
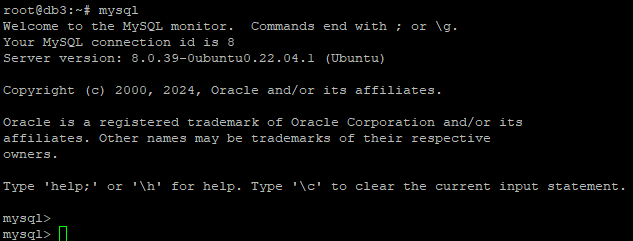
Start MySQL & Connect- By default MySQL connected using Native root without password, we will configure it to use password
Connected without password
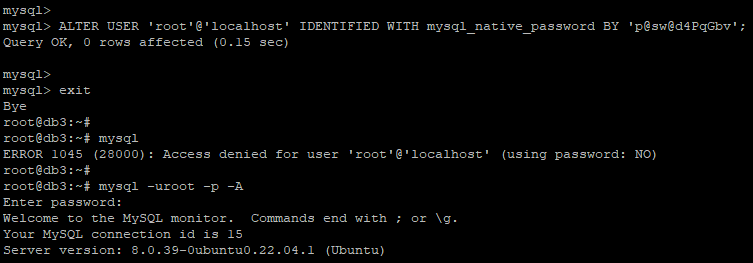
Changin root password-
Create DBA logn and grant all permivssions

3. Enable auditing and change default path of binlog and
Configuring Auditing:
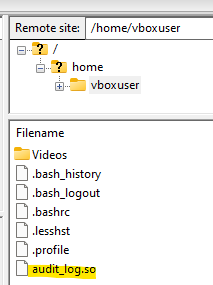
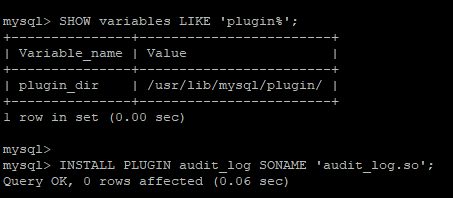
Copy plugin to directory /usr/lib/mysql/plugin/
and install plugin of audit

Make directory for saving audit & log files, change owner to mysql
Goto config & rename existing config to anoter name
cd /etc/mysql/mysql.conf.d

Create config file & modify bind address accordingly

Check errorlog for any errors
tail /var/log/mysql/error.log
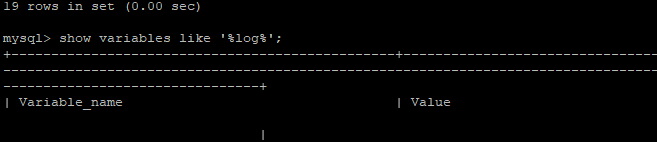
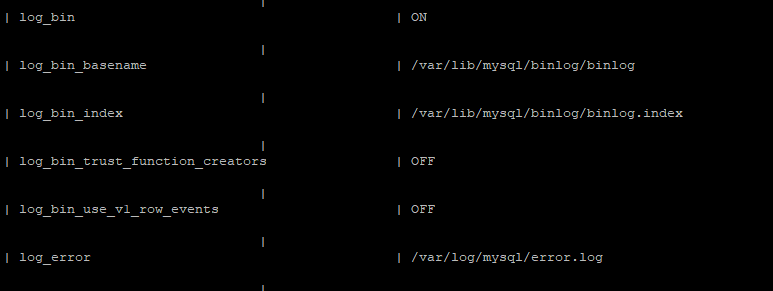
Check the configured variables, and updated path of log, audit files
Configure mysqld.cnf file in /etc/mysql/mysql.conf.d/ & save restart mysql server & Check the audit working properly:


Status 1045- Means access denied for login & 0 means connected
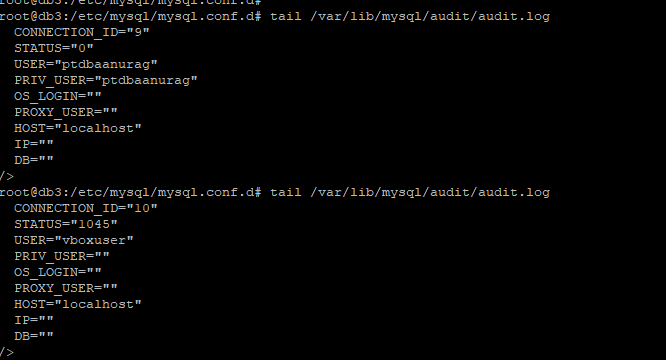
Also it will capture DCL statements

